
Experiencing water damage in your home can be a traumatic event, leaving homeowners feeling overwhelmed and unsure of where to turn for help. If you’re facing such a situation in Ventura, understanding the process of residential water damage restoration is crucial not only for salvaging your property but also for ensuring the safety of your family. Water damage can occur from various sources, including natural disasters, plumbing failures, or appliance malfunctions, and each scenario requires a tailored approach to effectively restore your home.
In this guide, we will explore the essential steps involved in residential water damage restoration in Ventura, providing you with insights on how to navigate this challenging experience. From identifying the source of the damage to implementing effective drying and repair solutions, we aim to empower you with the knowledge needed to tackle water damage head-on. As a homeowner, being informed about the restoration process can save you time, money, and stress during a potentially chaotic time. Let’s dive into the critical aspects of residential water damage restoration that every Ventura homeowner should know.
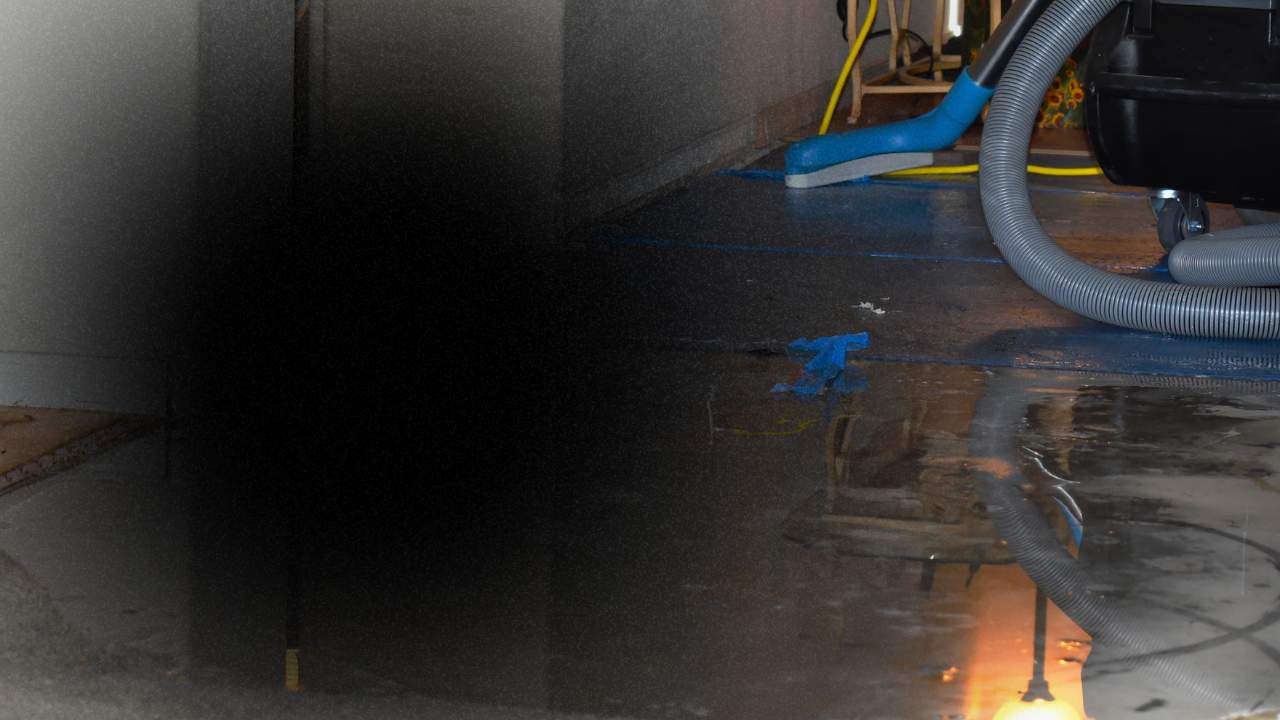
0 best residential water damage restoration in ventura
Understanding Water Damage
Water damage can be categorized into three categories: clean water, gray water, and black water. Clean water comes from sources like a broken pipe, gray water originates from appliances like dishwashers, and black water is contaminated water from sewage or flooding. Identifying the type of water damage is essential as it determines the restoration approach.
Steps for Residential Water Damage Restoration
1. **Assess the Damage**: The first step in water damage restoration is a thorough assessment of the affected areas. Look for visible signs of water damage, such as discoloration on walls, damp carpets, or pooling water. Understanding the extent of the damage will help professionals formulate a restoration plan.
2. **Stop the Source**: If the water damage is due to a plumbing issue, it’s vital to stop the source of the water immediately. This might involve turning off the water supply or fixing the leak to prevent further damage.
3. **Remove Excess Water**: Once the source is addressed, it’s time to remove excess water. This can be done using pumps and wet vacuums. Quick removal is crucial to minimize damage and prevent mold growth.
4. **Drying and Dehumidifying**: After removing excess water, the affected areas must be thoroughly dried. Use fans, dehumidifiers, and natural ventilation to facilitate the drying process. Keeping humidity levels low is essential to prevent mold growth and structural damage.
5. **Cleaning and Sanitizing**: Once everything is dry, it’s important to clean and sanitize the affected areas. This includes treating surfaces to eliminate bacteria and mold spores, especially if the water was contaminated. Use appropriate cleaners and disinfectants to ensure safety and hygiene.
6. **Restoration and Repairs**: The final step involves making necessary repairs to restore your home to its pre-damage condition. This could involve replacing damaged materials, repainting walls, or fixing structural issues. Hiring a professional restoration service can ensure that all repairs are done correctly and efficiently.
Expert Tips for Prevention
To prevent future water damage in your Ventura home, consider the following tips:
- Regularly inspect your plumbing and appliances for leaks.
- Maintain your gutters and downspouts to ensure proper drainage.
- Install a sump pump in areas prone to flooding.
- Consider water detection systems that alert you to leaks early.
By following these steps and tips, you can effectively manage water damage restoration and take proactive measures to protect your home in Ventura. Remember, timely action is critical to minimize damage and ensure a successful restoration process.